


Squarespace Live Chat: How to Add It to Your Website
Updated at Oct 14, 2026
10 min to read
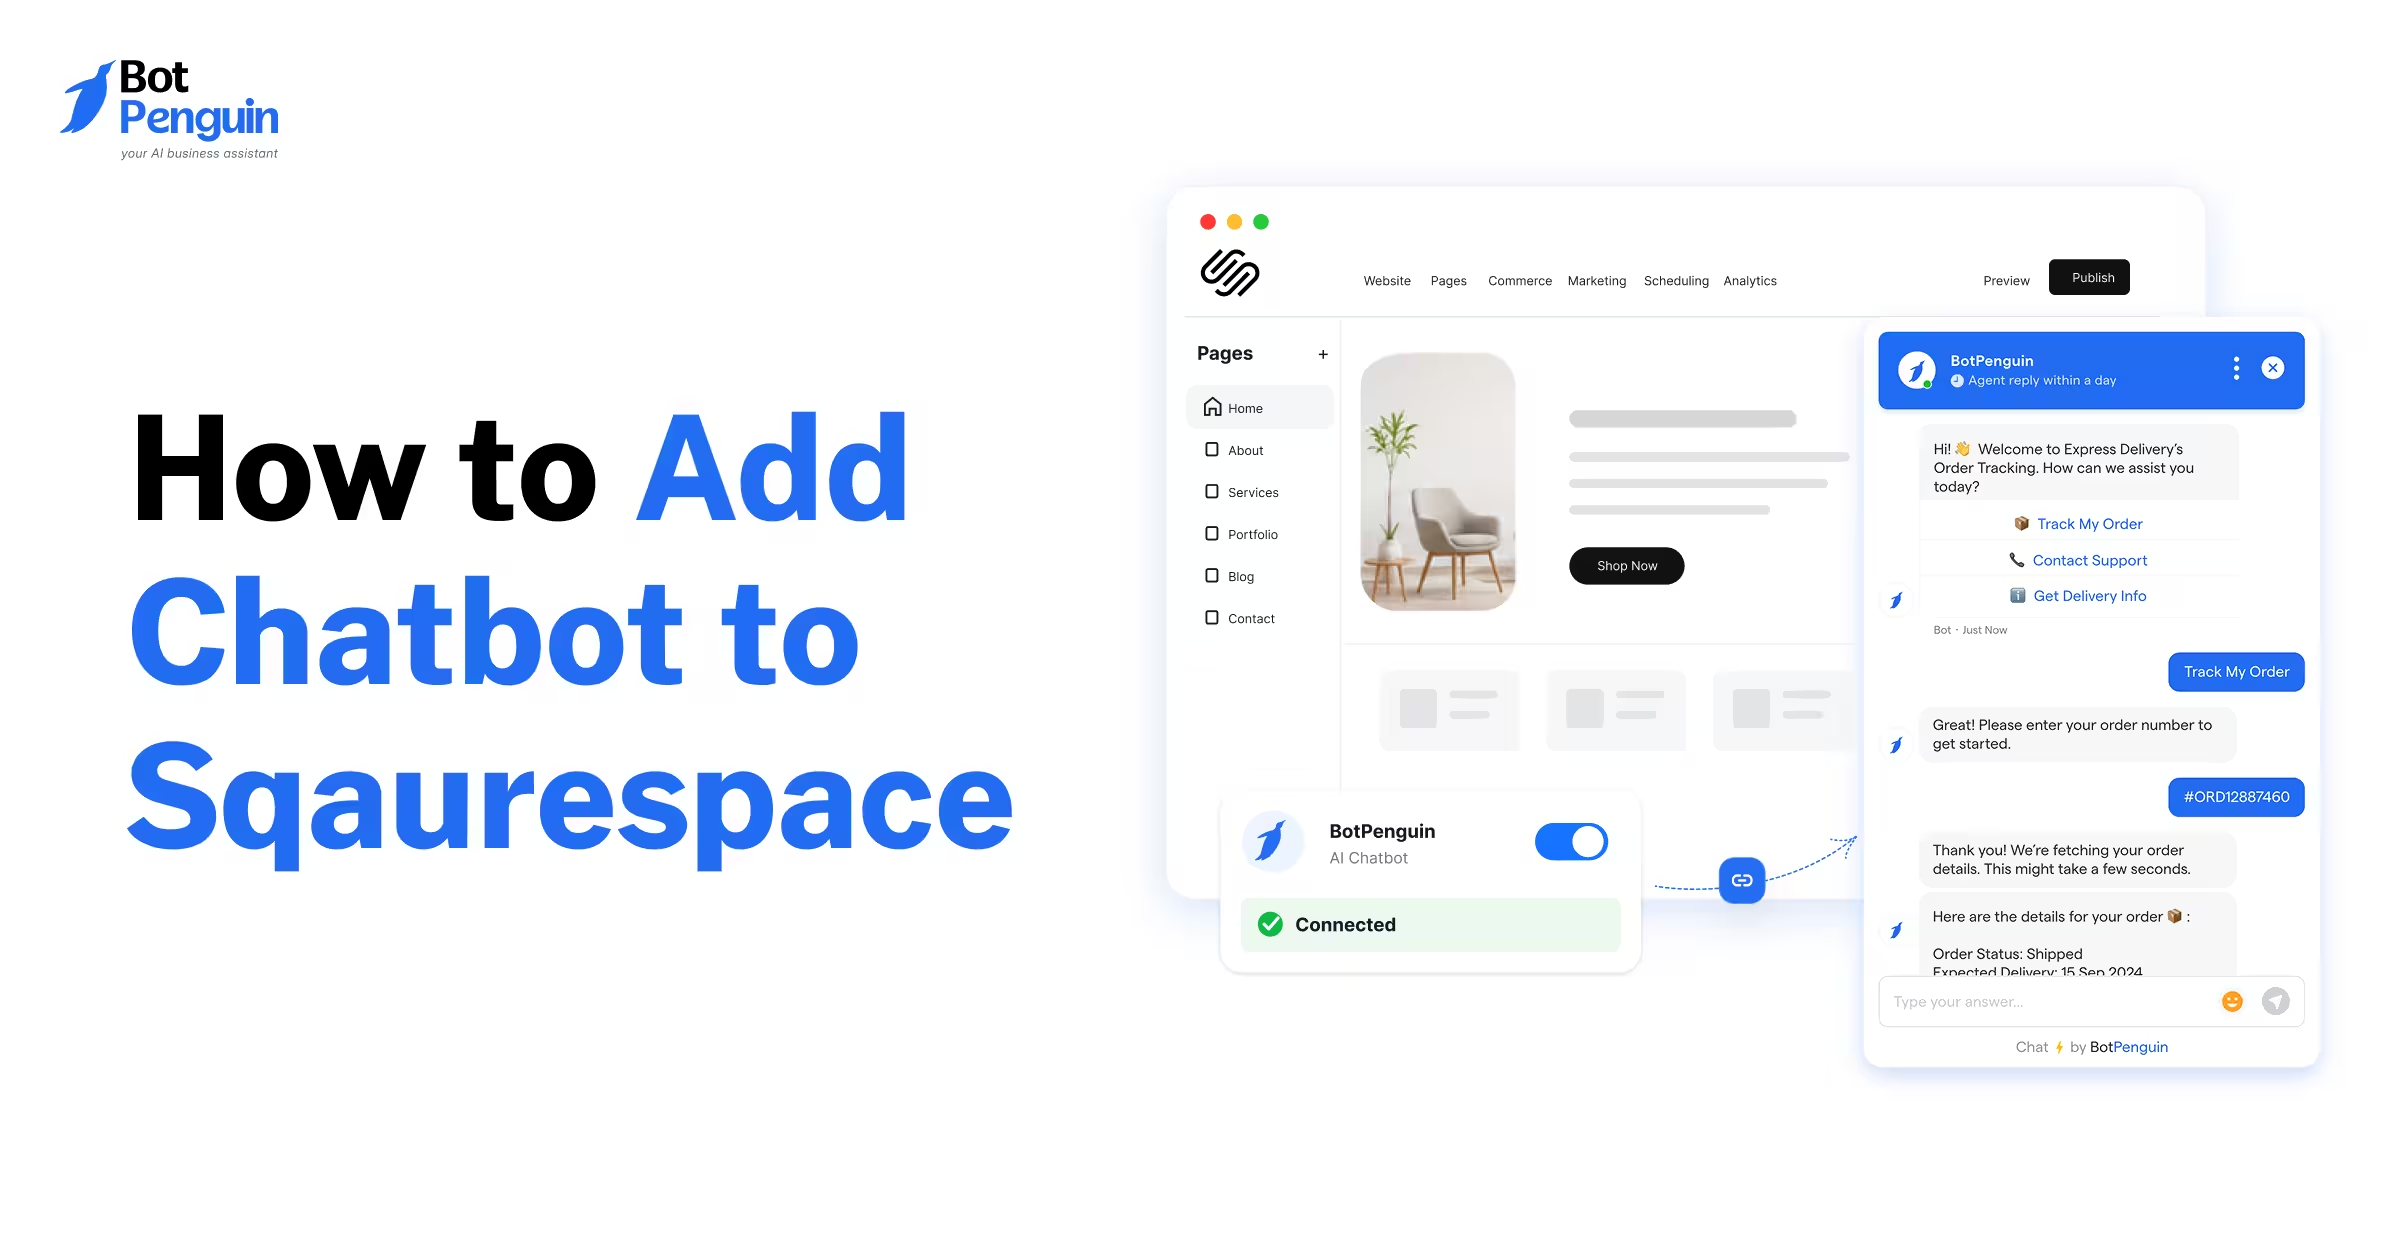
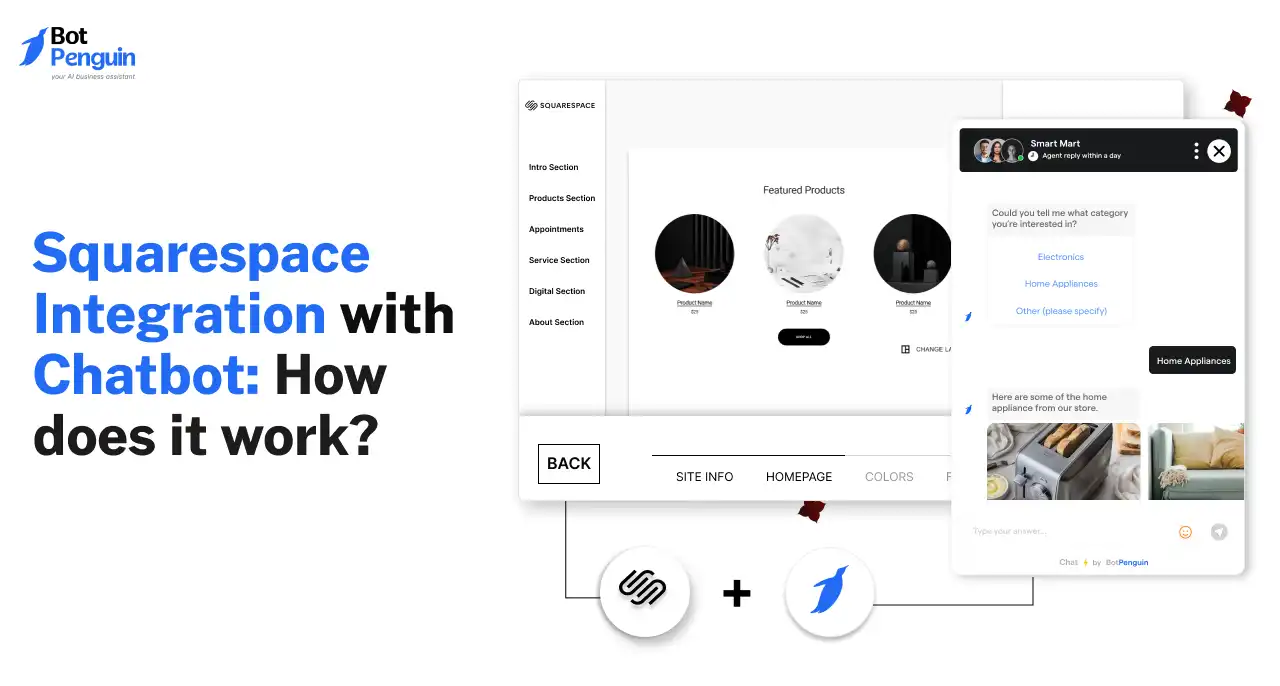
To add a chatbot to Squarespace, create a website chatbot in BotPenguin. Copy the installation script from Install your bot → Squarespace. Paste it into a Code block in your site footer or Code Injection → Footer. Save your changes, then click Verify in BotPenguin. Your chatbot should now appear across your website.
Want to answer visitor questions without constantly monitoring your Squarespace website? Adding a chatbot helps visitors find information, get support, and connect with your business.
Learning how to add a chatbot to Squarespace doesn't require technical expertise. With BotPenguin, you can install a website chatbot using a simple script.
You can display the chatbot across your website or on specific pages. Once installed, it can respond to common questions and capture visitor details.
This guide walks you through four installation steps, from setup to verification. You'll also learn where to find Squarespace settings and fix common installation issues.
Choosing the right chatbot affects response quality, setup time, and visitor experience. Your chatbot should answer questions, capture leads, and support website visitors.
Before you add a chatbot to Squarespace, evaluate these essential capabilities:
Easy installation: Choose a tool that provides a ready-to-use website script.
Automated responses: Answer common questions without requiring constant manual support.
AI-powered conversations: Handle varied questions using your business information.
Lead capture: Collect visitor details for follow-ups and sales conversations.
Customization: Adjust the chatbot's appearance to match your website.
Live chat: Allow visitors to connect with your team when needed.
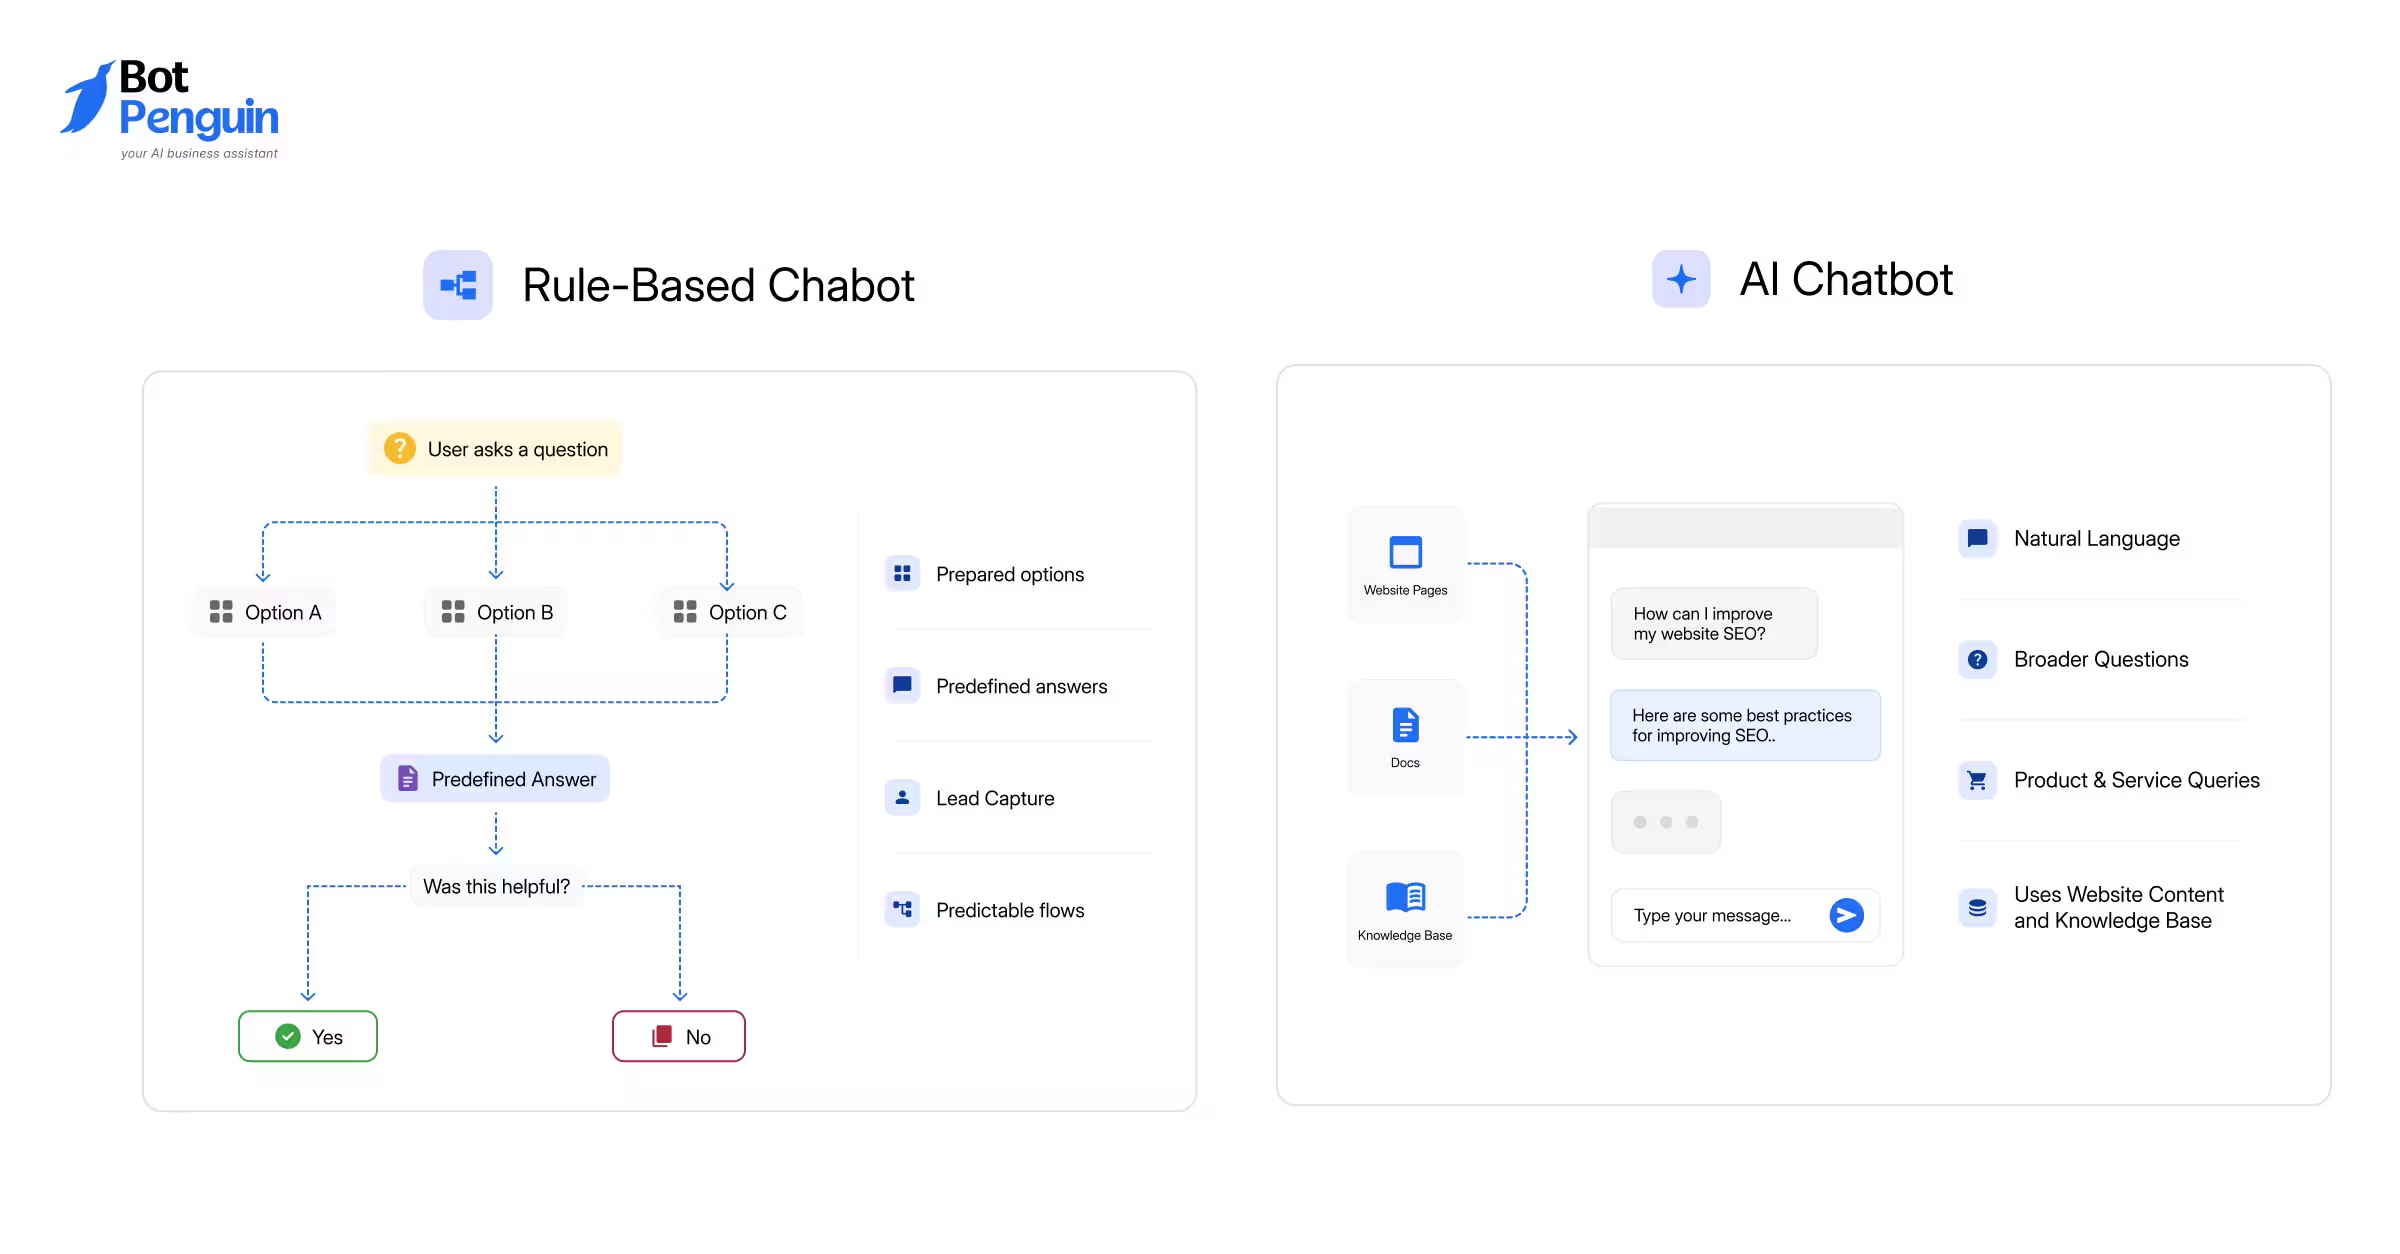
Most website chatbot tools offer AI-powered responses, rule-based flows, or both.
Rule-based chatbots follow predefined conversation paths. They work well for simple FAQs, contact collection, and structured inquiries.
AI-powered chatbots interpret visitor questions and generate relevant responses. They suit businesses handling varied questions about services, policies, or products.
Choose based on your visitors' needs and the complexity of their questions.
BotPenguin provides a Squarespace chatbot that you can install using an embed script. You can configure automated conversations without building the chatbot from scratch.
Key capabilities include:
No-code chatbot builder: Create and customize conversations without programming.
AI and rule-based options: Choose how your chatbot responds to visitors.
Knowledge-based responses: Train your chatbot using website pages, files, and FAQs.
Lead generation: Collect visitor information through chatbot conversations.
Website integration: Add the chatbot using a script provided by BotPenguin.
BotPenguin offers a free plan with 1,000 messages per month. You can start without entering credit card details.
For AI-powered responses, you can connect your own OpenAI API key. API usage may involve separate charges.
To begin, create a BotPenguin account and select the website chatbot option. Once your chatbot is ready, you can retrieve its Squarespace installation script.
After you select BotPenguin, the next step is to get your installation script. This script connects your chatbot to your Squarespace website.
Follow these steps to retrieve your Squarespace chatbot integration code.
Sign in to your BotPenguin account and open the dashboard.
If you're a new user, complete the account registration first. You can start with the free plan without a credit card.
Choose an existing website chatbot or create a new one.
If you're creating a chatbot, configure its basic settings and responses. Customize its appearance to match your Squarespace website.
Open your selected chatbot and follow this path:
Install your bot → Squarespace
BotPenguin will display the script needed to connect your chatbot.
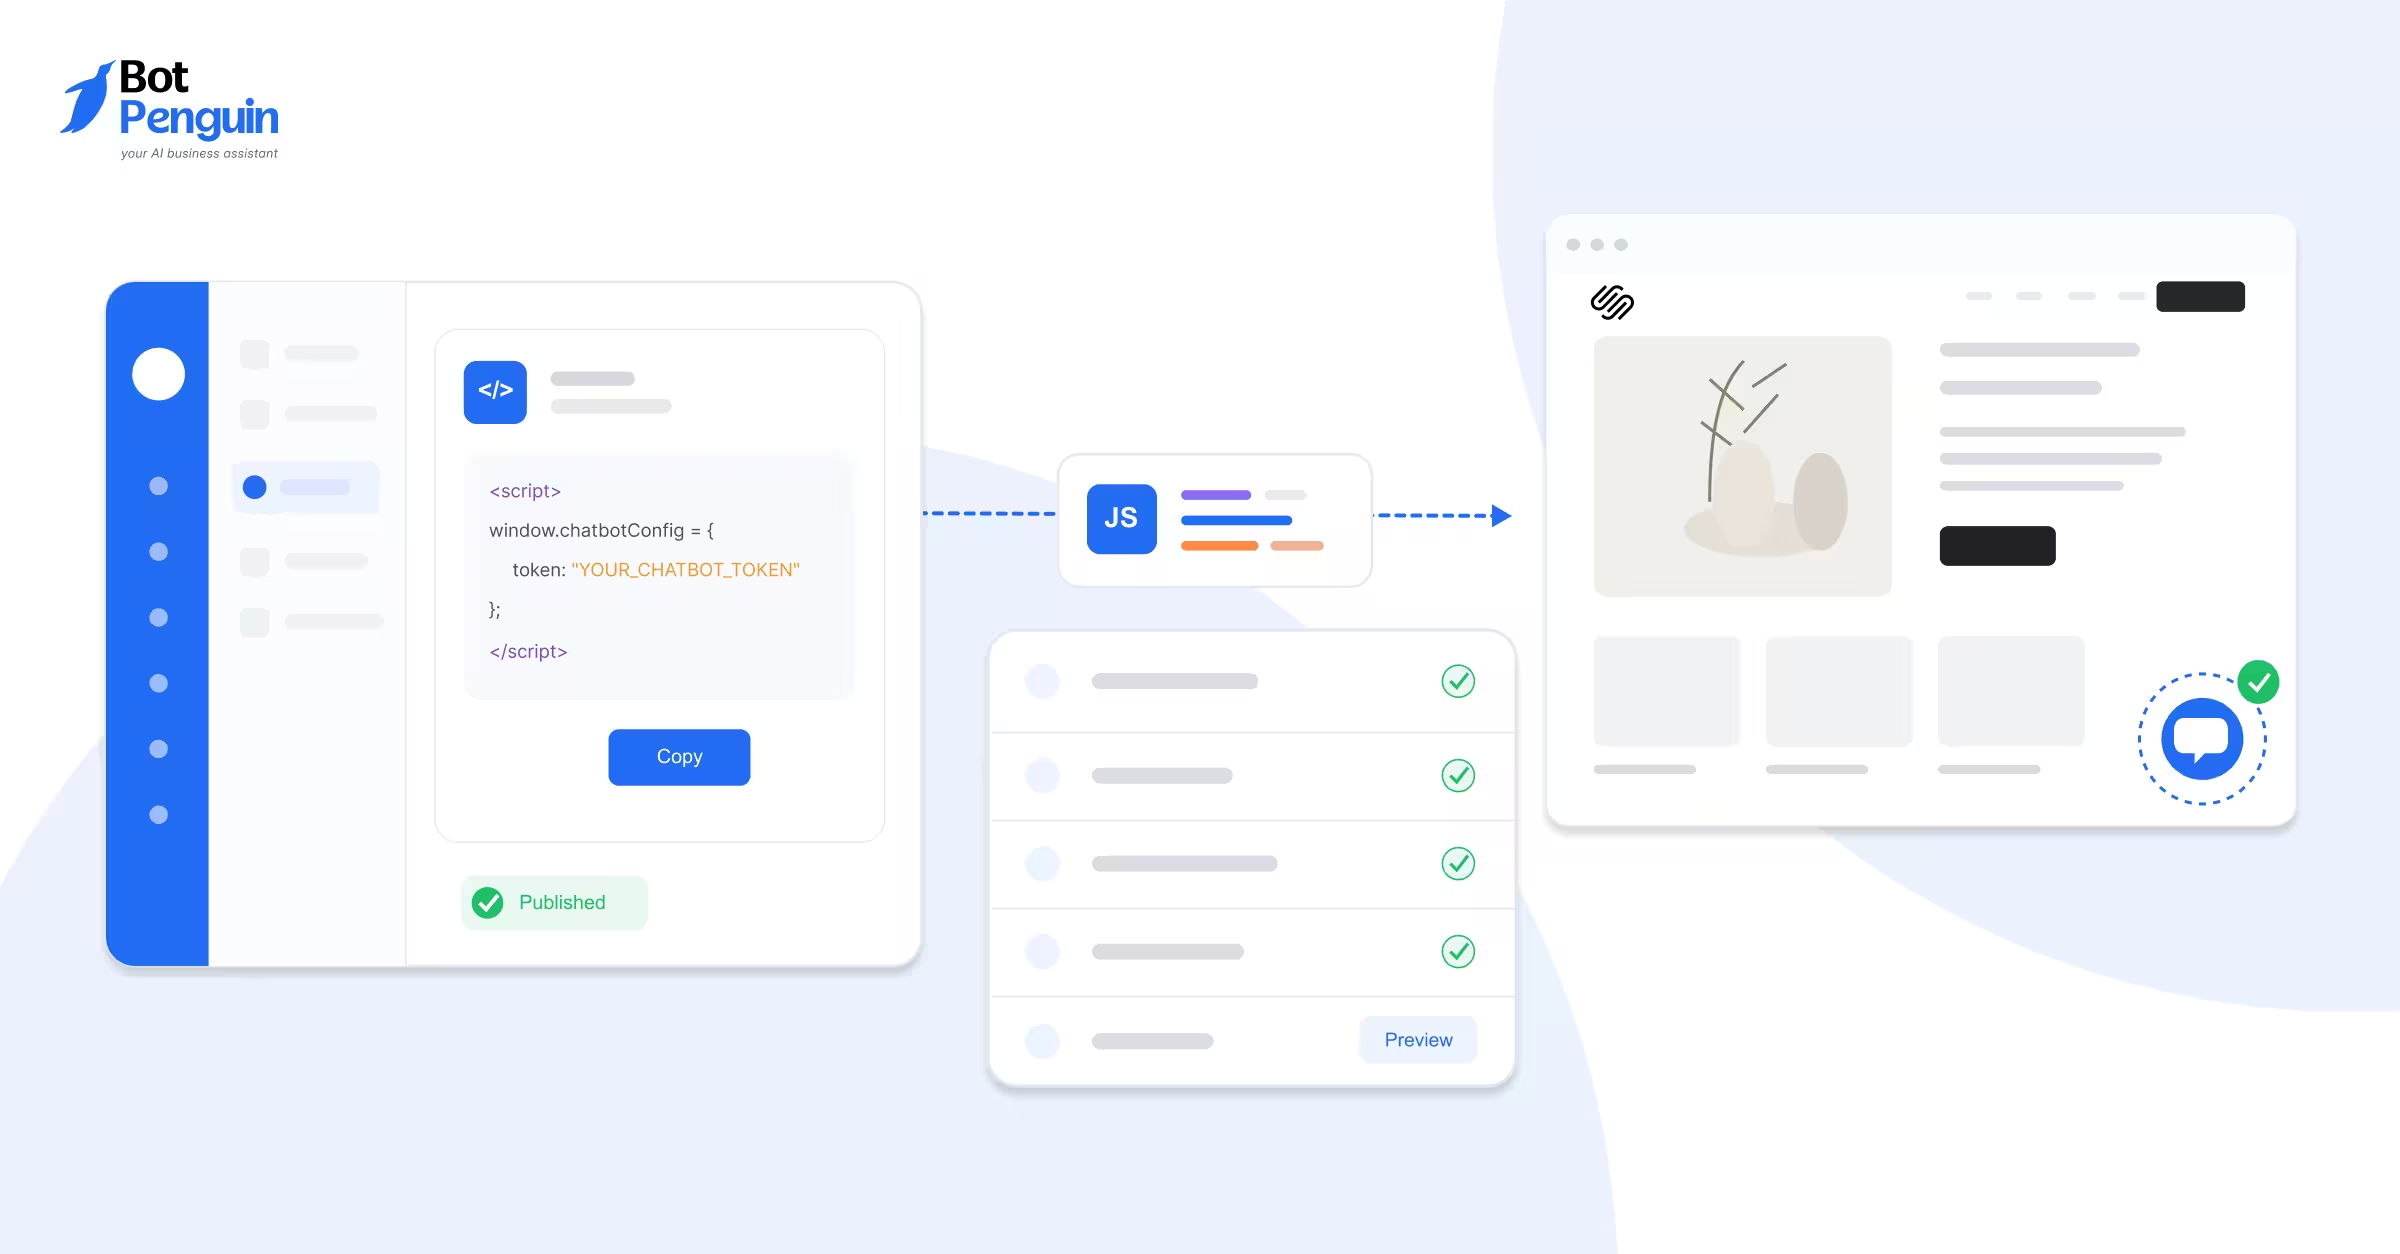
Copy the complete installation script provided by BotPenguin.
Keep the code unchanged to avoid installation errors. You don't need to modify or write any JavaScript yourself.
Your chatbot script is now ready. Next, you'll add it to your Squarespace website using a Code block or Code Injection.
Now that you've copied your chatbot script, open your Squarespace dashboard.
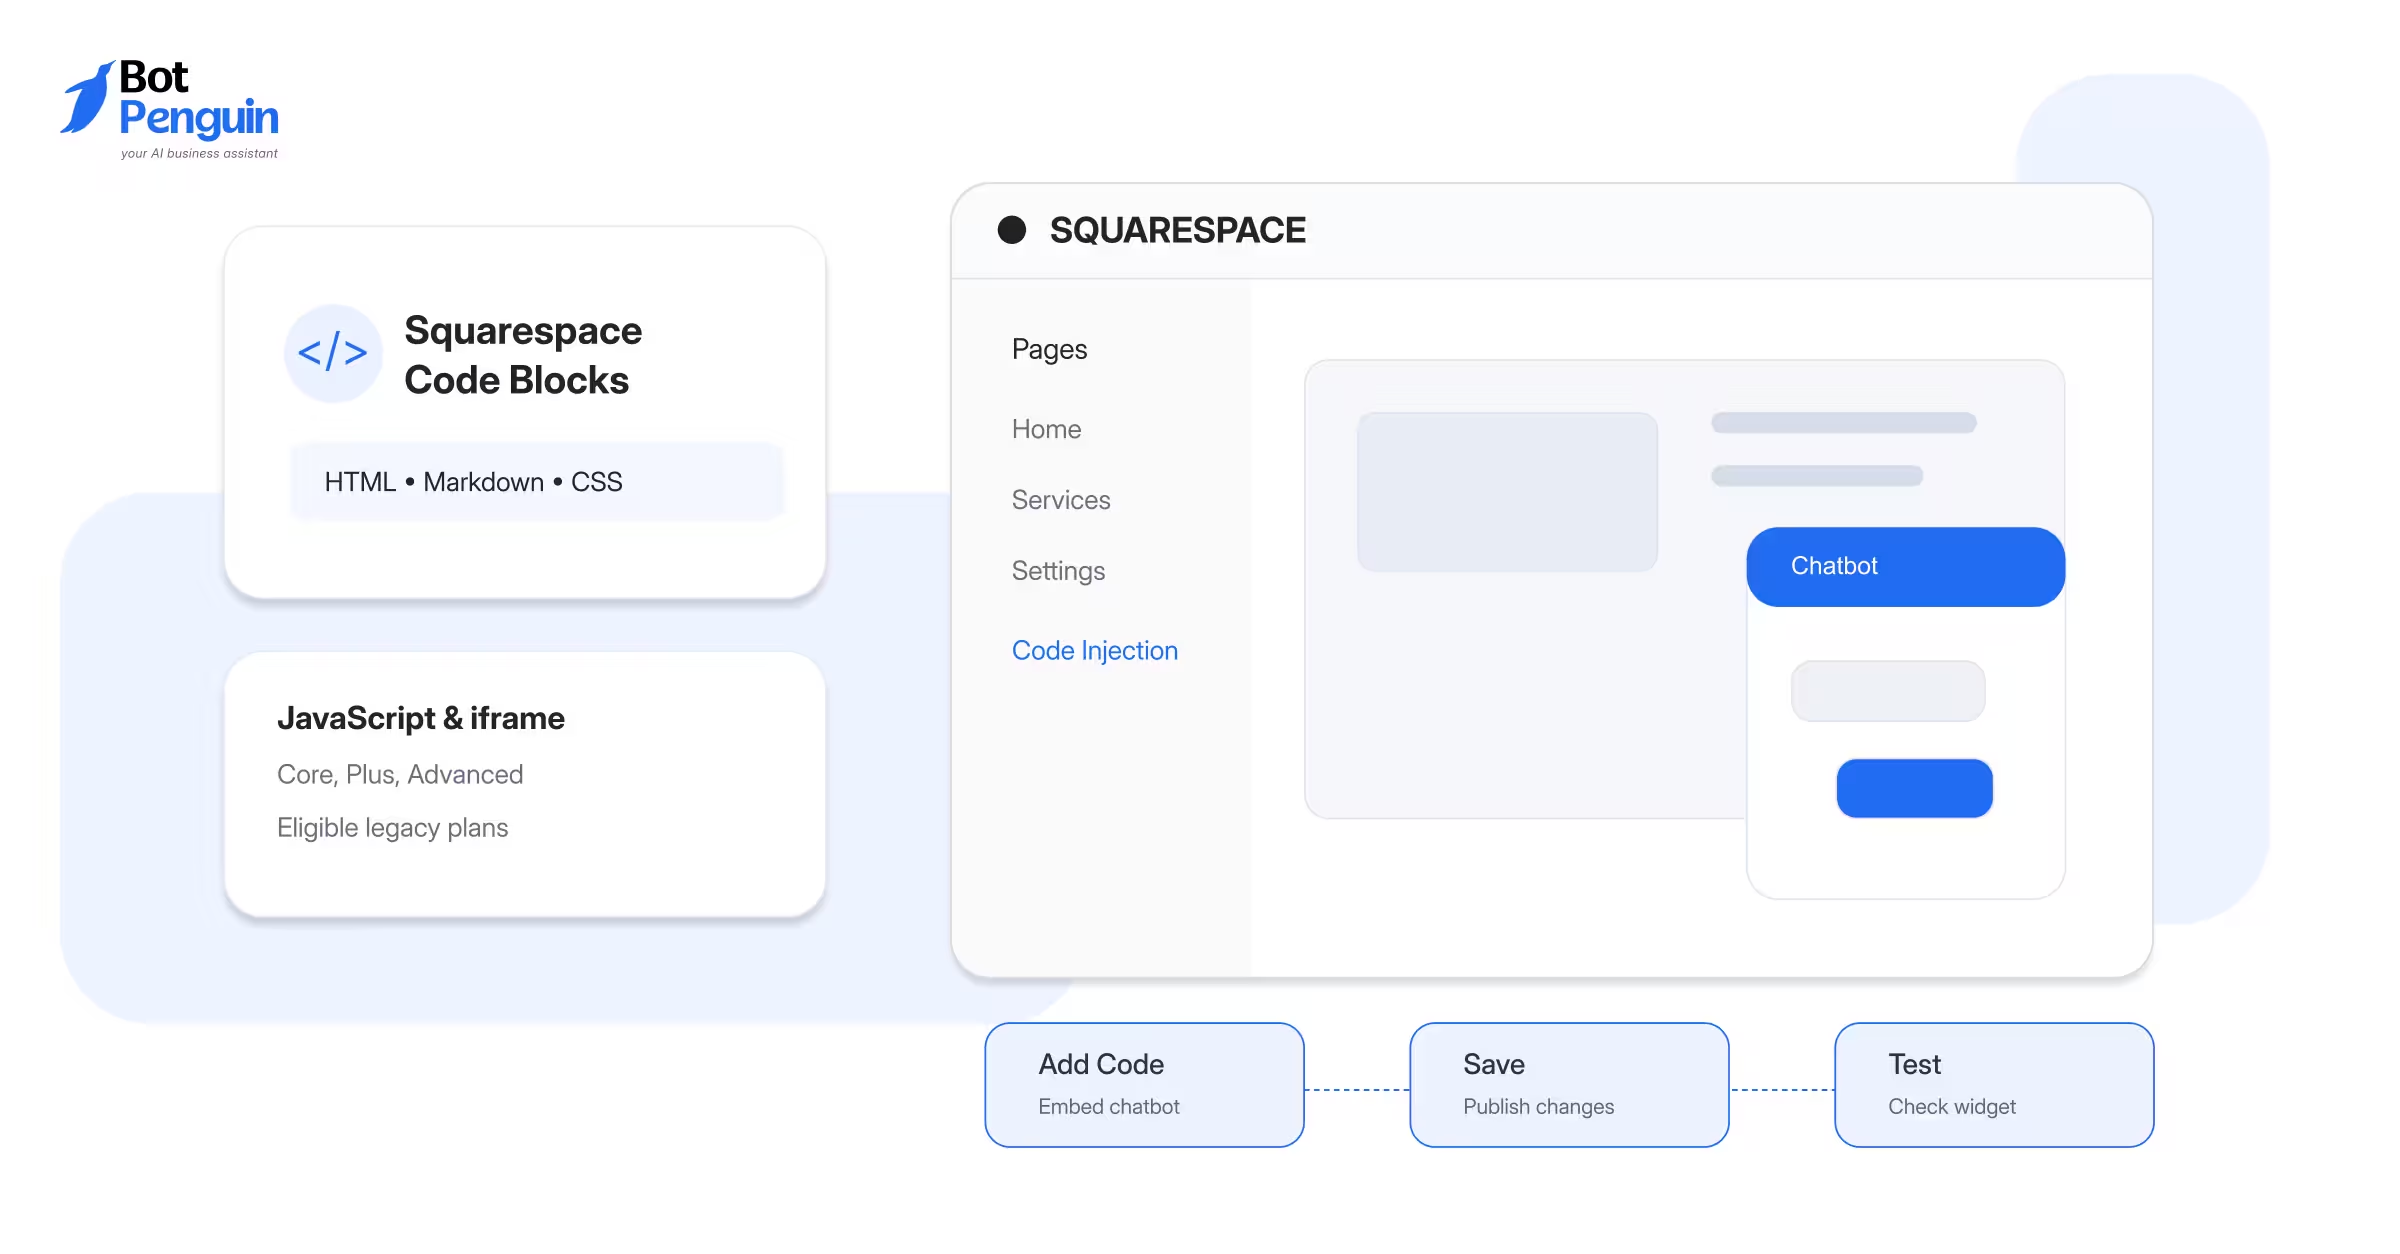
You can install the chatbot using two methods:
Code Block: Add the chatbot to your website footer or a specific page.
Code Injection: Insert the chatbot script across your entire website.
Both methods support Squarespace chatbot integration without manual coding.
A Code block lets you embed your chatbot directly into Squarespace. You can use it for sitewide installation or individual pages.
If you're unfamiliar with the platform, learn what is Squarespace before exploring its website customization options.
Option A: Add the Chatbot to Your Website Footer
Choose this option if you want the chatbot available across your website.
1. Log in to Squarespace and open your website editor.
2. Scroll to the footer section and click Edit Footer.
3. Click Add Block (+) and select Code.
4. Open the Code block editor.
5. Paste the installation script copied from BotPenguin.
6. Make sure the code is configured to run, not display as text.
7. Save your changes and exit the editor.
Because the website footer is shared, the chatbot can load across pages.
Option B: Add the Chatbot to a Specific Page
Choose this option when visitors need assistance on selected pages.
For example, you might install it on your contact or service page.
1. Open Pages in your Squarespace dashboard.
2. Select the page where you want your chatbot.
3. Click Edit to open the page editor.
4. Click Add Block (+) and choose Code.
5. Paste your BotPenguin installation script.
6. Save the changes and publish the page.
The script will load on the selected page rather than sitewide.
Important: JavaScript in Code blocks requires a supported Squarespace plan. The current Basic plan doesn't support this functionality.
Code Injection provides another way to add a chatbot to Squarespace. It places the installation script across your website without editing individual pages.
This method works well when you want the chatbot available consistently.
Follow these steps:
1. Log in to your Squarespace account.
2. Open the website dashboard.
3. Navigate to Website → Website Tools → Code Injection.
4. Scroll to the Footer code injection field.
5. Paste the complete BotPenguin installation script.
6. Click Save to apply your changes.
Squarespace adds the Footer script before the closing body tag. This allows the chatbot to load across supported website pages.
Code Injection is available on these Squarespace plans:
Core
Plus
Advanced
Eligible legacy Business and Commerce plans
The current Squarespace Basic plan doesn't support JavaScript installation through Code blocks or Code Injection.
Check your subscription before choosing either method. For additional guidance, consult Squarespace's official Code Injection documentation.
Once you've saved your installation script, the next step is to test it. You'll verify that your chatbot appears and responds correctly.
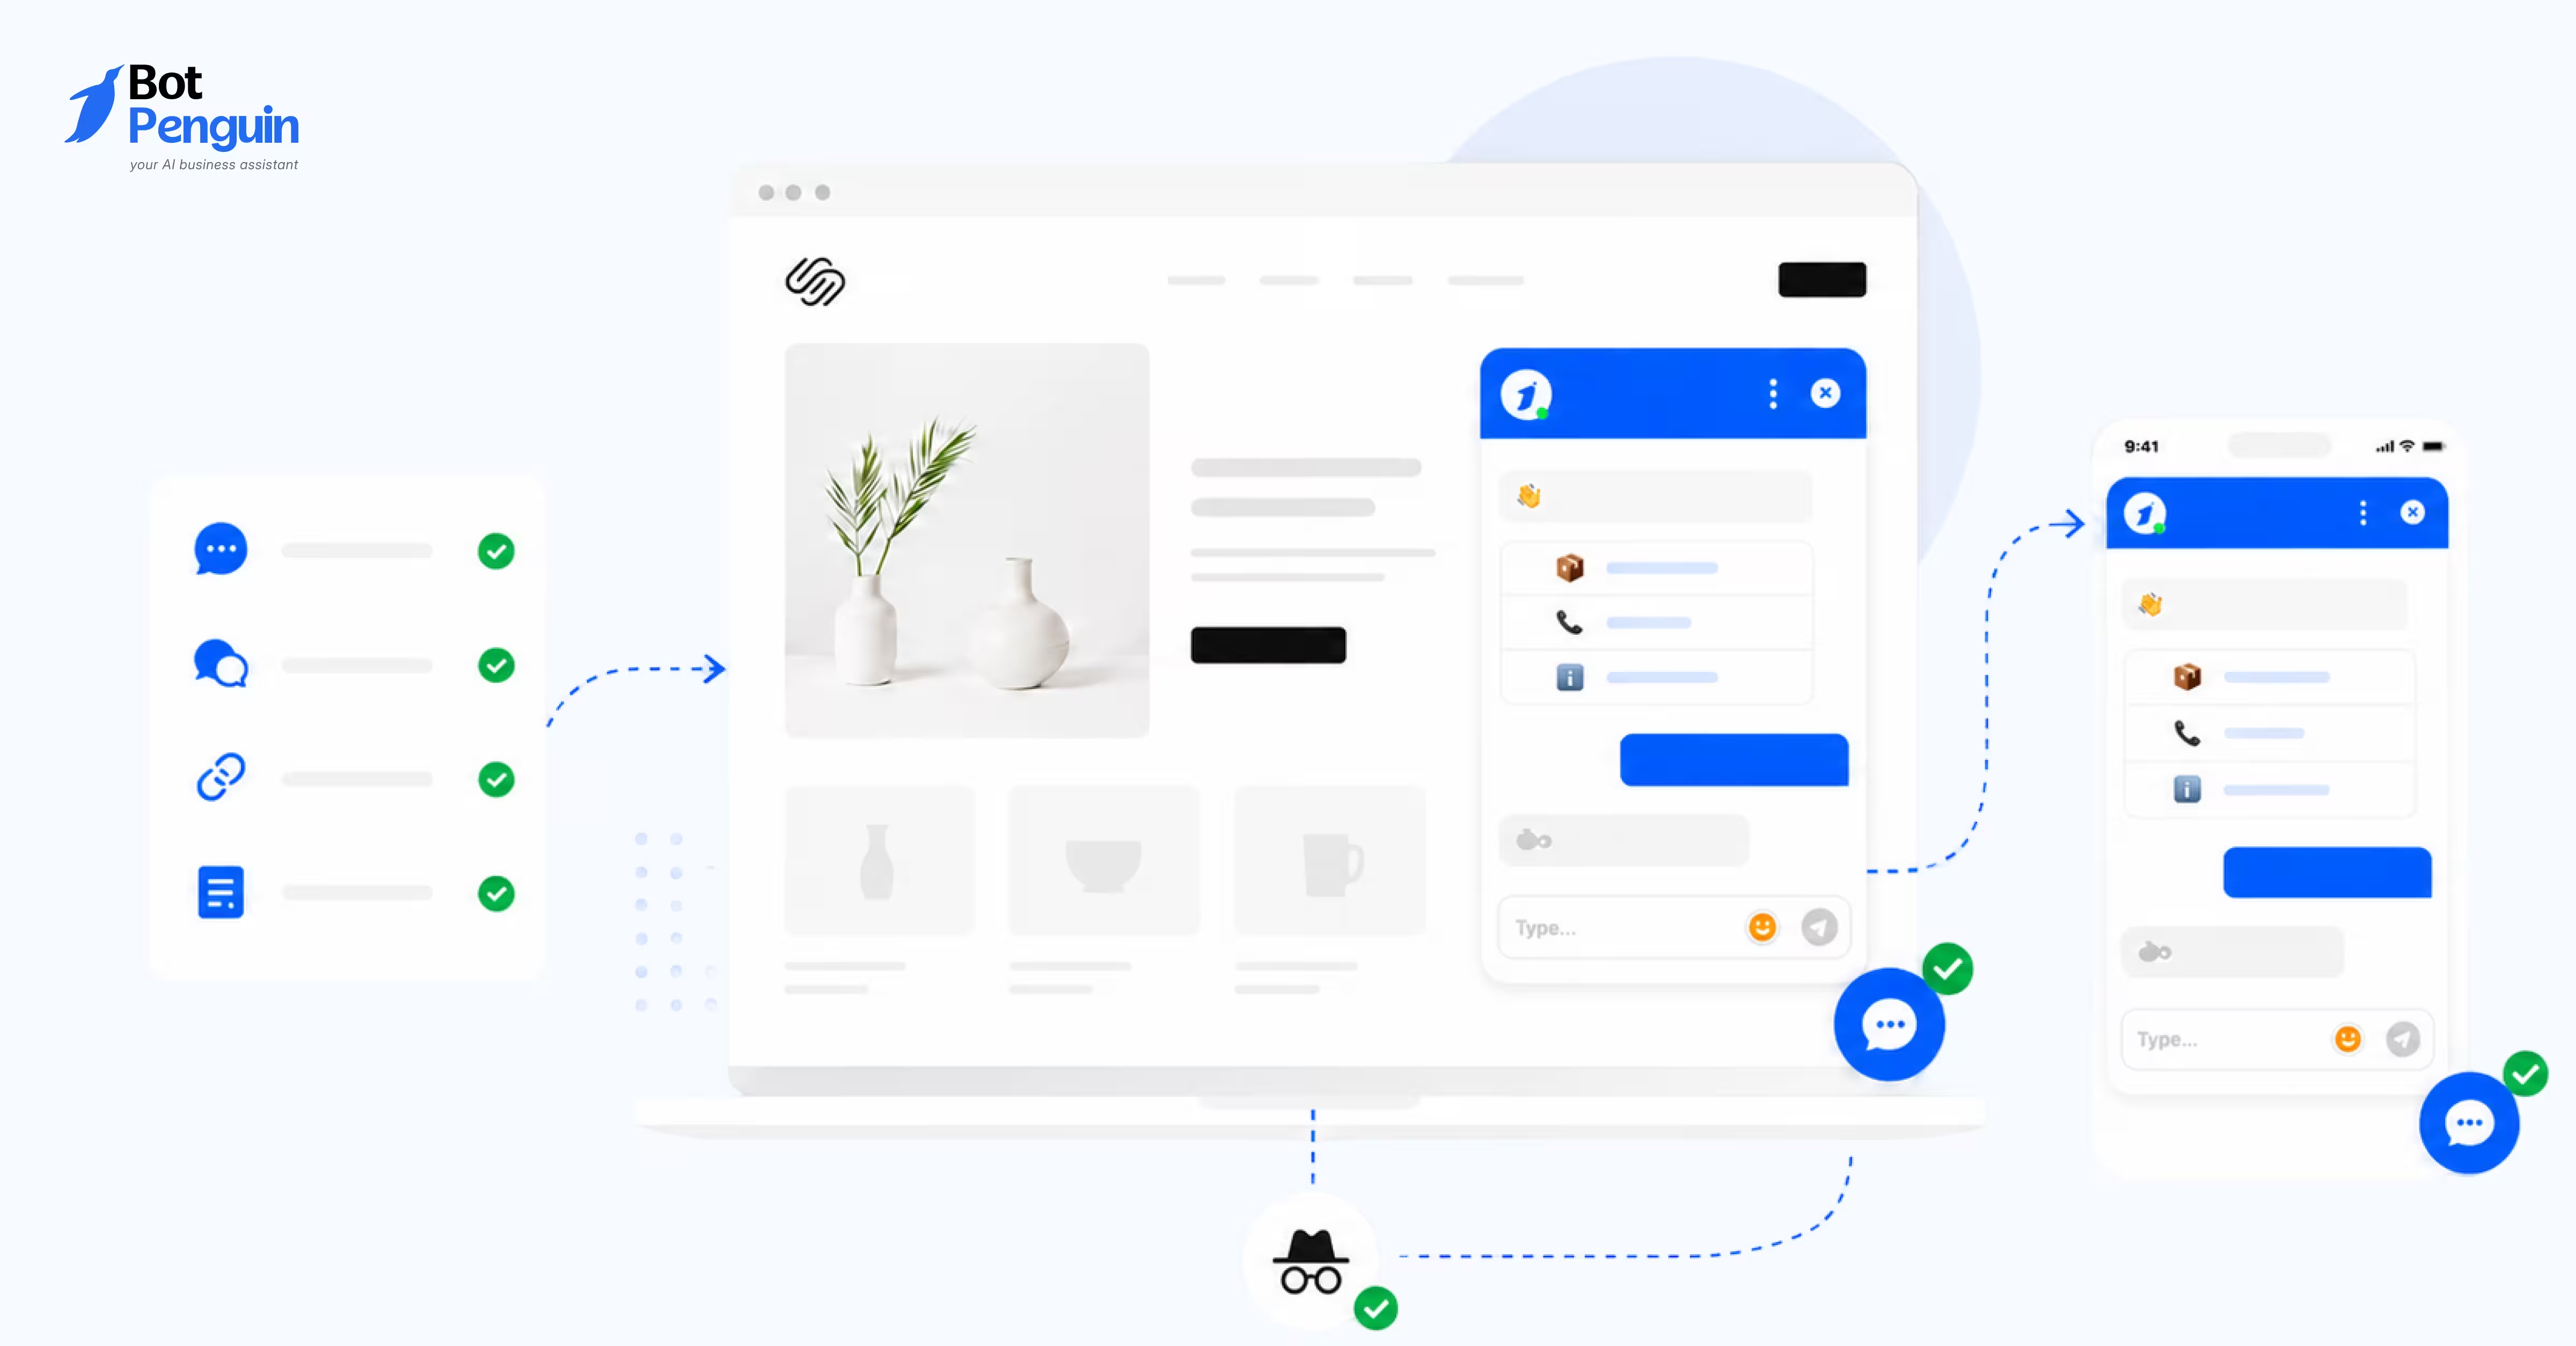
After installing the script, check whether your chatbot works correctly. Testing helps you catch installation errors before visitors use it.
Follow these steps to complete the setup.
Return to your Squarespace editor and confirm all changes are saved.
If you used a Code block, publish the updated page. For Code Injection, confirm the script was saved successfully.
Visit your published website in a new browser tab.
Check whether the chatbot widget appears on the page. For sitewide installations, test multiple pages to confirm consistent visibility.
Return to your BotPenguin dashboard.
Open the selected chatbot and navigate to Install your bot → Squarespace.
Click Verify to check whether the installation was detected.
Open the chatbot widget on your Squarespace website.
Send a question that your chatbot is configured to answer. Confirm that the response is accurate and relevant.
Also, check whether:
The chatbot opens and closes correctly.
Messages appear without display issues.
Lead capture fields work as configured.
The widget displays properly on mobile devices.
If verification fails or the widget doesn't appear, review your script placement.
Your chatbot is now ready for visitors once these checks pass.
If you're wondering where is code injection in Squarespace, open your website dashboard.
Follow this navigation path: Website → Website Tools → Code Injection
In older Squarespace interfaces, the path may appear as: Website → Pages → Custom Code → Code Injection
Once inside, locate the Footer field for your BotPenguin installation script.
Code Injection is available on:
Core, Plus, and Advanced plans
Legacy Business and Commerce plans
The current Basic plan doesn't support Code Injection or JavaScript in Code blocks. If you don't see the option, check your Squarespace subscription.
For further guidance, consult Squarespace's official Code Injection documentation.
If your chatbot doesn't appear after installation, check the setup first. Most issues involve script placement, unpublished changes, or restrictions based on your Squarespace plan.
Here are six common problems and how to fix them.
Your chatbot may not load if the script is placed incorrectly.
How to fix it:
Open your Squarespace website editor.
Check whether the script is inside a Code block or Code Injection → Footer.
Remove duplicate scripts from other locations.
Save your changes and reload the website.
An unpublished Code block may prevent your chatbot from appearing.
How to fix it:
Return to the page containing your Code block.
Confirm the installation script is still present.
Save the changes and publish the updated page.
Refresh your live website and check again.
For Code Injection, confirm you saved the Footer script.
Not every Squarespace subscription supports JavaScript installation.
How to fix it:
Check your current subscription before troubleshooting further.
Core, Plus, and Advanced: Support JavaScript installation.
Legacy Business and Commerce: Support Code Injection.
Basic: Doesn't support JavaScript Code blocks or Code Injection.
If your plan doesn't support it, you'll need an eligible subscription.
An incomplete script can stop your chatbot from loading.
How to fix it:
1. Open your BotPenguin dashboard.
2. Navigate to Install your bot → Squarespace.
3. Copy the complete installation script again.
4. Replace the existing script in Squarespace.
5. Save your changes without modifying the code.
Your chatbot's visibility depends on where you installed its script.
How to fix it:
Single-page Code block: The chatbot loads on that page.
Shared footer Code block: The chatbot can load across your website.
Code Injection → Footer: The script applies sitewide.
Check whether you've configured page-specific chatbot visibility settings.
Sometimes the widget appears, but installation verification remains unsuccessful.
How to fix it:
Open your published Squarespace website.
Refresh the page and check the chatbot widget.
Return to BotPenguin and click Verify again.
Send a test message to confirm the chatbot responds.
Test in a private browser window to rule out caching issues.
If problems continue, contact BotPenguin support with your website URL and installation details.
Once your chatbot loads and responds correctly, your Squarespace installation is complete.
Yes, BotPenguin offers a free plan with 1,000 messages per month. You can create a chatbot without entering credit card details. However, installing its JavaScript requires an eligible Squarespace subscription. AI responses using your own OpenAI API key may incur separate charges.
Squarespace doesn't provide a native AI chatbot builder for automated customer conversations. However, you can integrate third-party tools like BotPenguin. These tools help answer visitor questions, capture leads, and provide support. If you need human assistance, explore how to add live chat to your Squarespace site.
Yes, you can add a chatbot to Squarespace without writing code. BotPenguin provides a ready-to-use installation script. Copy the script and paste it into a supported Squarespace Code block or Footer Code Injection field.
Yes, you can display your chatbot across your website. Add the installation script to your shared website footer or Code Injection → Footer. For specific pages, use individual Code blocks instead.
Yes, installing a JavaScript-based chatbot requires an eligible Squarespace plan. Core, Plus, and Advanced support JavaScript Code blocks and Code Injection. Eligible legacy Business and Commerce plans also support Code Injection. The current Basic plan doesn't support these installation methods.
Yes, BotPenguin lets you customize your chatbot's appearance and conversation flows. You can configure automated responses, lead collection, and AI-powered conversations. Available customization and visibility controls depend on your BotPenguin plan.
Learning how to add a chatbot to Squarespace is straightforward with the right tools. BotPenguin provides an installation script that connects your chatbot to your website.
Add the script to a Code block in your site footer (or Code Injection → Footer) to show the chatbot on every page, or to a Code block on a single page for a focused experience.
After installation, click Verify in BotPenguin and test your chatbot's responses. This ensures visitors can interact with it successfully.
Ready to get started? Create your free BotPenguin account and set up your Squarespace chatbot today.
Subscribe to Our Newsletter
Get the latest business insights straight into your inbox.
Checkout our related blogs you will love.
Updated at Oct 14, 2026
10 min to read
Updated at Oct 7, 2026
6 min to read
Updated at Sep 10, 2026
8 min to read
Updated at Aug 17, 2026
12 min to read
Updated at Aug 8, 2026
3 min to read
Updated at Aug 7, 2026
8 min to read
Table of Contents